How Lamby Works
The quickest way to see Lamby in action is to create a new Rails app via our cookiecutter project template using our Quick Start guide. This guide will instead outline what is happening within that starter project allowing you to cherry-pick which files and/or practices from our cookiecutter project can be applied to your own application(s).
If you copy any template files without using the cookiecutter, remember to customize the {% include ... %} template sections with your own app name and remove the curly bracket sections like these {{ "..." }} from various string literals.
Architecture
Lamby is a Rack adapter that converts AWS Lambda integration events into native Rack Environment objects which are sent directly to your application. Lamby can automatically do this when using either Lambda Function URLs, API Gateway HTTP API v1/v2 payloads, API Gateway REST API, or even Application Load Balancer (ALB) integrations.
Since Rails applications are Rack applications, Lamby removes the need for a companion Rack Web Server like Passenger or Puma to be running within your container. Essentially AWS integrations become your web server and scaling is managed by the Lambda service spinning up new container instances, one for each request or down to zero if needed. Lambda instances live for several minutes or more. A small pool of concurrent fuctions can handle a large amount of traffic.
Install Lamby
Start by adding the Lamby gem to your Gemfile. It remains inert until it detects special environment variables present when run on AWS Lambda. When activated, it mostly does a few simple things like ensuring Rails logs to standard out.
gem 'lamby'
Runtime Container
You will need some Dockerfile to build your Lambda container image. Referencing architecture diagram above mentions something called a RIC (Rick). The RIC is short for the Lambda Runtime Interface Client. It is a small interface packaged as a Ruby gem that acts as the ENTRYPOINT for any OCI continer image to run on the AWS Lambda platform. Below you can see that we are using an Official Ruby Ubuntu variant base image, installing the RIC and setting it as the entrypoint.
FROM ruby:3.2-bullseye

RUN gem install 'aws_lambda_ric'
ENTRYPOINT [ "/usr/local/bundle/bin/aws_lambda_ric" ]
CMD ["config/environment.Lamby.cmd"]
The RIC allows us to use Docker's CMD to load Rails and invoke a function. In this case we are loading our Rails application through its config/environment.rb file (.rb extension is implied) and once that is done, calling the Lamby.cmd as the Lambda handler.
Our cookiecutter project defaults to building a Linux image targeting the arm64 architecture vs the traditional x86_64. However, this is easily changed to accomodate your needs. Check out the CPU Architecture section for more details.
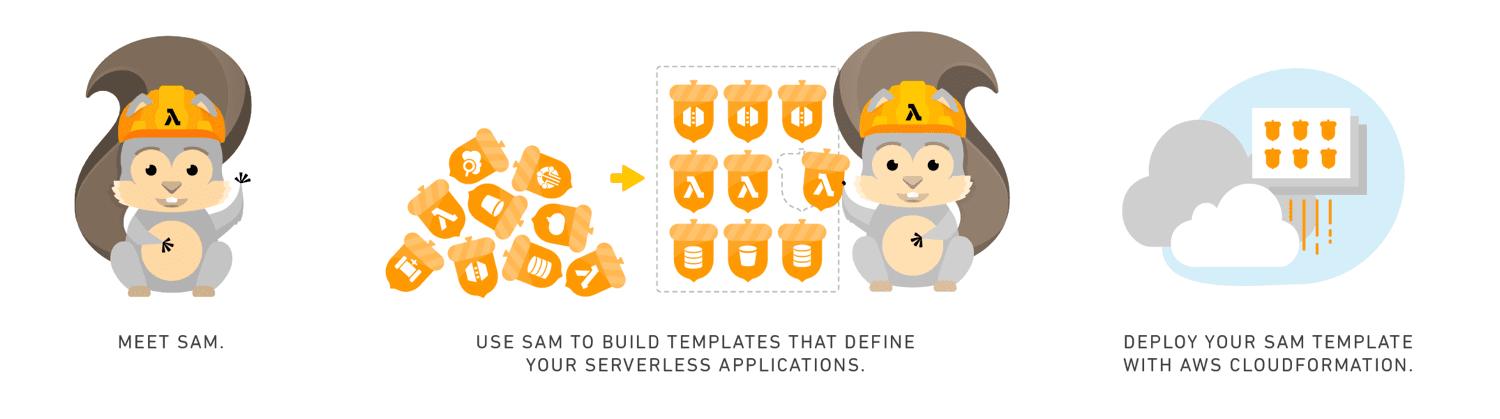
SAM CloudFormation File
The template.yaml file at the root of your project describes your Serverless Application. Don't worry, we have done some heavy lifting for you. Here is the Serverless Function Resource we start you off with and a brief explanation:
RailsLambda:
  Type: AWS::Serverless::Function
  Metadata:
    DockerContext: .
    Dockerfile: Dockerfile
    DockerTag: web
  Properties:
    AutoPublishAlias: live
    FunctionUrlConfig:
      AuthType: NONE
    DeploymentPreference:
      Type: AllAtOnce
    MemorySize: 1792
    PackageType: Image
    Timeout: 30
- Your Rails function will have a
MemorySizeof 1,792 MB of RAM and 1 vCPU. This is the sweet spot for Rails speed and cost optimization. Remember, you're not running a web server in a single function nor scaling by memory. - The
FunctionUrlConfighas been configured to be a public HTTP proxy. You can change this to IAM authentication or swap out to other web server integrations like API Gateway if you need their features. Details in other guides. - The maximum amount of
Timeoutfor an HTTP integration is 30 seconds.
As your application grows you may end up adding Resources like EventBridge Rules, SQS, S3 Buckets, and IAM Policies. Please take some time to learn how SAM & CloudFormation work.
- What Is the AWS Serverless Application Model (AWS SAM)?
- Quick Intro & Tech Spec for SAM File
- What is AWS CloudFormation?
Development Container
Described in the Quick Start guide, our Lamby starter makes use of the Development Container specification via a .devcontainer directory. Commonly used with Codespaces, dev containers can be used locally with any editor.
Our dev container's Dockerfile uses the same base image as the one at the root of your project. This helps ensure your development experience, like installing system dependencies and Ruby gems with native extensions, aligns with the same process as your production image.
We also leverage the devcontainer's dockerComposeFile capability to include a MySQL service as well. The Lamby starter also includes a range of devcontainer features which are installed within the Ubuntu development image. For example, Node, Docker in Docker, SSH, and the AWS CLI & SAM CLI.
Technically you do not need to adopt these devcontainer patterns, but it is really nice to be able to use this container to ensure your CI/CD process is reproducable locally using VS Code or the Dev Container CLI. More details in the following CI/CD section.
Deployment & CI/CD
So how does that CloudFormation file and container image get created within AWS? We use the AWS SAM CLI's build, package, and deploy commands in a single bin/deploy file. This file also does the following. Feel free to customize your deploy files as needed:
- Finds/Creates an ECR repository with the same name as your project.
- Sets various ENV variables if not set already. For example, easy to deploy to multiple regions by setting
AWS_REGION. - Install gems into local vendor/bundle for deployment via a Docker
COPY.
If you used our Quick Start guide, you likely made your first deploy using VS Code's integrated terminal within the development container. This is critically important since your Ruby gems with native extensions are built within the context of the Ruby Ubuntu image being built and copied to ECR for Lambda to use.
When automating deployments, the system must have permission to create the needed resources and IAM Roles with permission(s) for your application to work. Most hobby users have admin level access to their own AWS account. For more security minded folks, consider creating a least privilege user for your deployments with OpenID Connect identity providers. We found that the AWSCodeDeployFullAccess managed policy is often overlooked.
CircleCI
If arm64 is your target platform in production, CircleCI make it easy to to do so using their Arm Execution Environment. Our starter includes a CircleCI config.yml file that runs tests on each commit or deploy by manually triggering a workflow. It even uses the Devcontainer CLI to ensure your CI/CD matches your development experience. Changing between arm64 and x86_64 is described in our CPU Architecture guide.
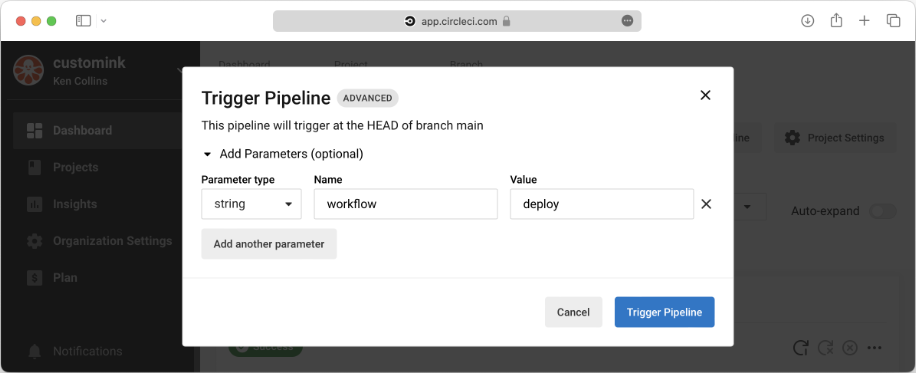
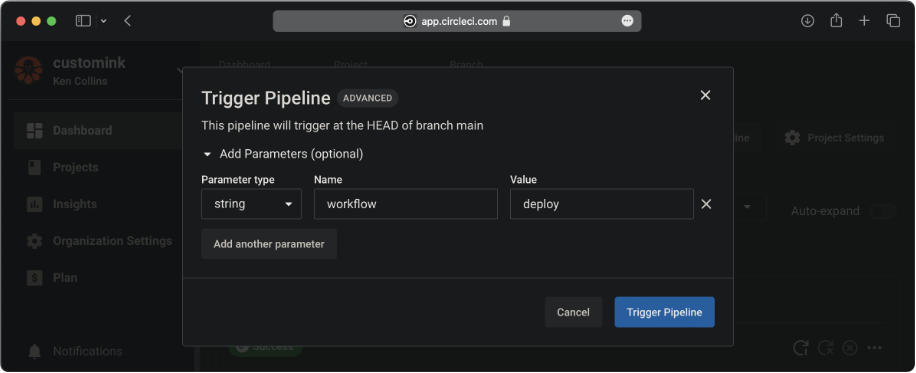
Deploying requires manually triggering the workflow. Simply select a branch then click "Trigger Workflow" and pass a string parameter called "workflow" with a value of "deploy". Feel free to change this workflow to suite your needs.
GitHub Actions
You can automate both the test and deploy process using our provided GitHub Actions which also leverage the Dev Container Build and Ruby CI project.
- Within your project's GitHub repository add two Encrypted Secrets using the credentials values above with the environment names of
AWS_ACCESS_KEY_IDandAWS_SECRET_ACCESS_KEY. - If needed, change the
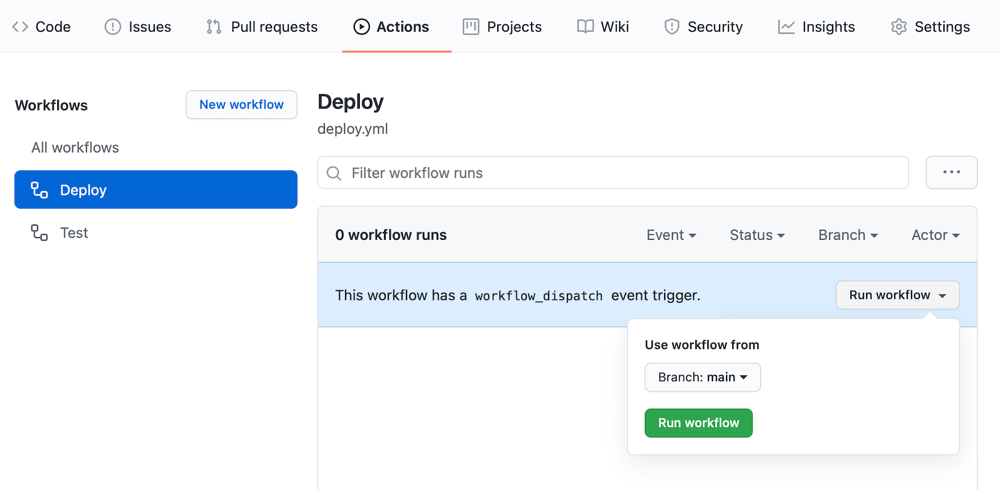
aws-regionin your.github/workflows/deploy.ymlfile fromus-east-1to your own region. - Trigger a deploy by navigating to the Deploy workflow and clicking "Run workflow".