Quick Start
Deploy a new Rails APP to Lambda in 5 minutes!
Lamby can be used with existing Rails v5 application or higher. The quickest way to learn how Rails works on Lambda is to deploy a new application to your AWS account using our cookiecutter project template.
Before you get started, make sure that you have Docker installed, an AWS account, and Visual Studio Code open. 🚢 Install Docker ⛅️ AWS Account 📝 Install VS Code
Rails Project Template
We created a rails-lambda/lamby-cookiecutter repository which allows you to initialize a new project from a GitHub template, commonly called a cookiecutter. Run this terminal command to create a new Rails project with Lamby already installed.
docker run \
  --rm \
  --interactive \
  --volume "${PWD}:/var/task" \
  ghcr.io/rails-lambda/lamby-cookiecutter \
  "gh:rails-lambda/lamby-cookiecutter"
You will be prompted for a project name. Choose something short, no spaces, and with underscores for word breaks. Example: new_service.
project_name [my_awesome_lambda]:
Development Container
Is your local computer an x86_64 system such as an older Intel Mac or Windows? Our starter defaults to an arm64 deployment target. If needed, see our CPU Architecture guide on how to switch to x86_64.
Your new Rails project with Lamby leverages GitHub Codespaces which itself is built atop of the Development Container specification. In short, this means your project's containers are easy to use by any editor, even outside of Codespaces.
VS Code makes this incredibly easy. Within a new window, open the command pallet and type "dev container open" and select that action to Open Folder in Container.... When prompted, select the project folder created in the previous step.
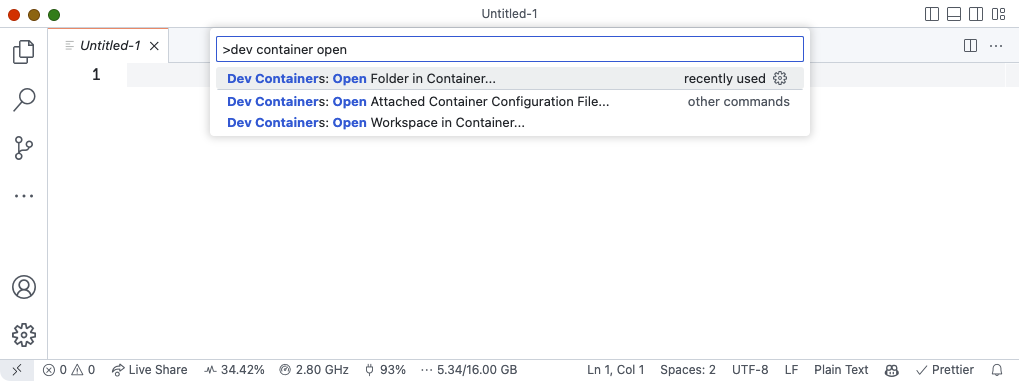
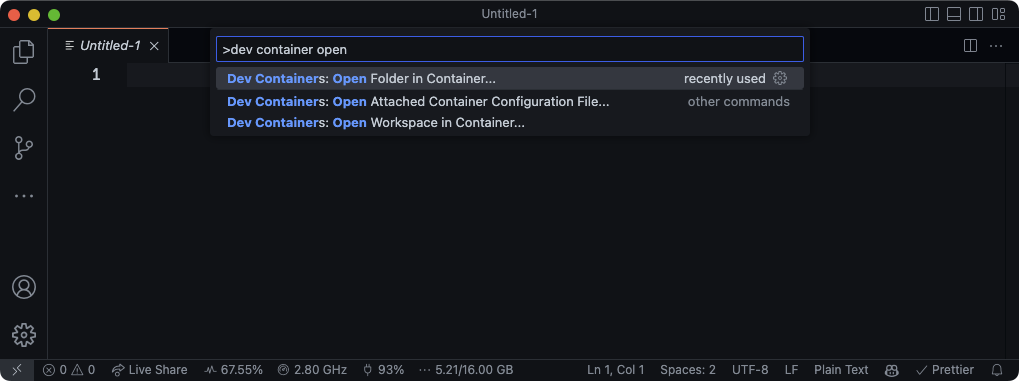
When the dev container's build is complete, VS Code will display the project folder within the container. This container uses the same base Docker image as the one we are going to deploy to AWS. Unlike the production image, this continer comes with all sorts of build utilties, including the AWS & SAM CLI which we are going to use in the next step to deploy your Rails application to AWS Lambda.
Deploy to Lambda
Open the integrated terminal by typing View: Toggle Terminal in the command pallet. This VS Code terminal is within your development container, an official Ruby Ubuntu image.
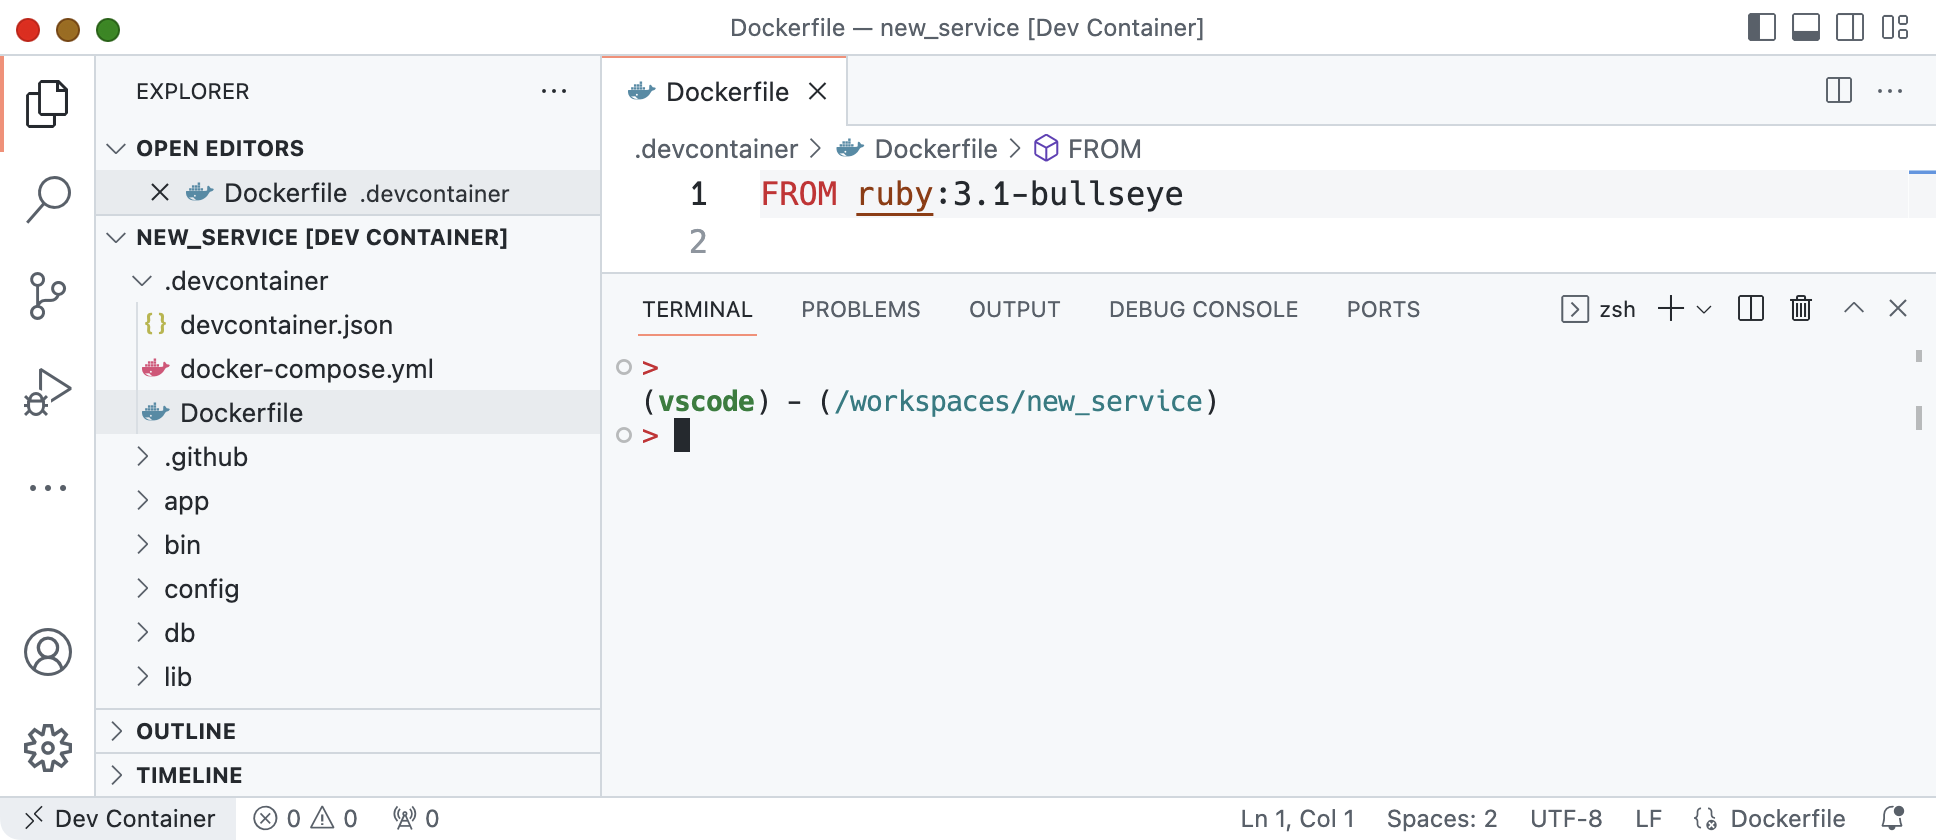
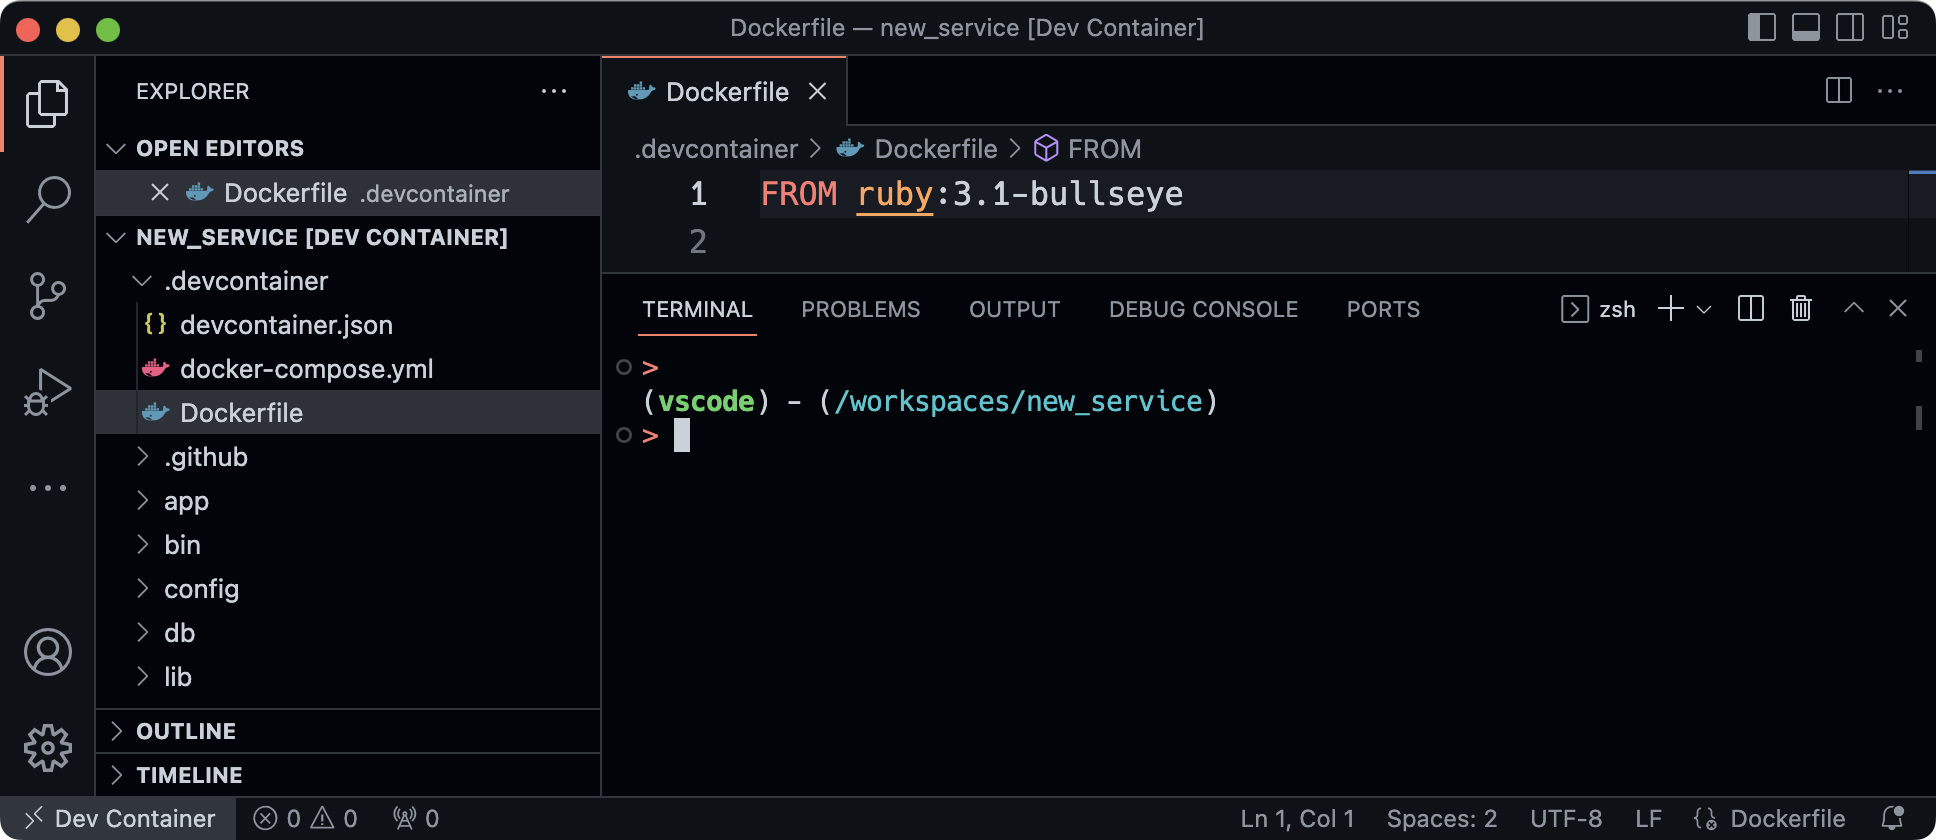
First, configure the AWS CLI with your AWS access key and secret.
aws configure
Now we can run the deploy script which uses the AWS SAM CLI.
./bin/deploy
Deploy scripts are best run via automated CI/CD system such as GitHub Actions. Please see our full How Lamby Works deployment section
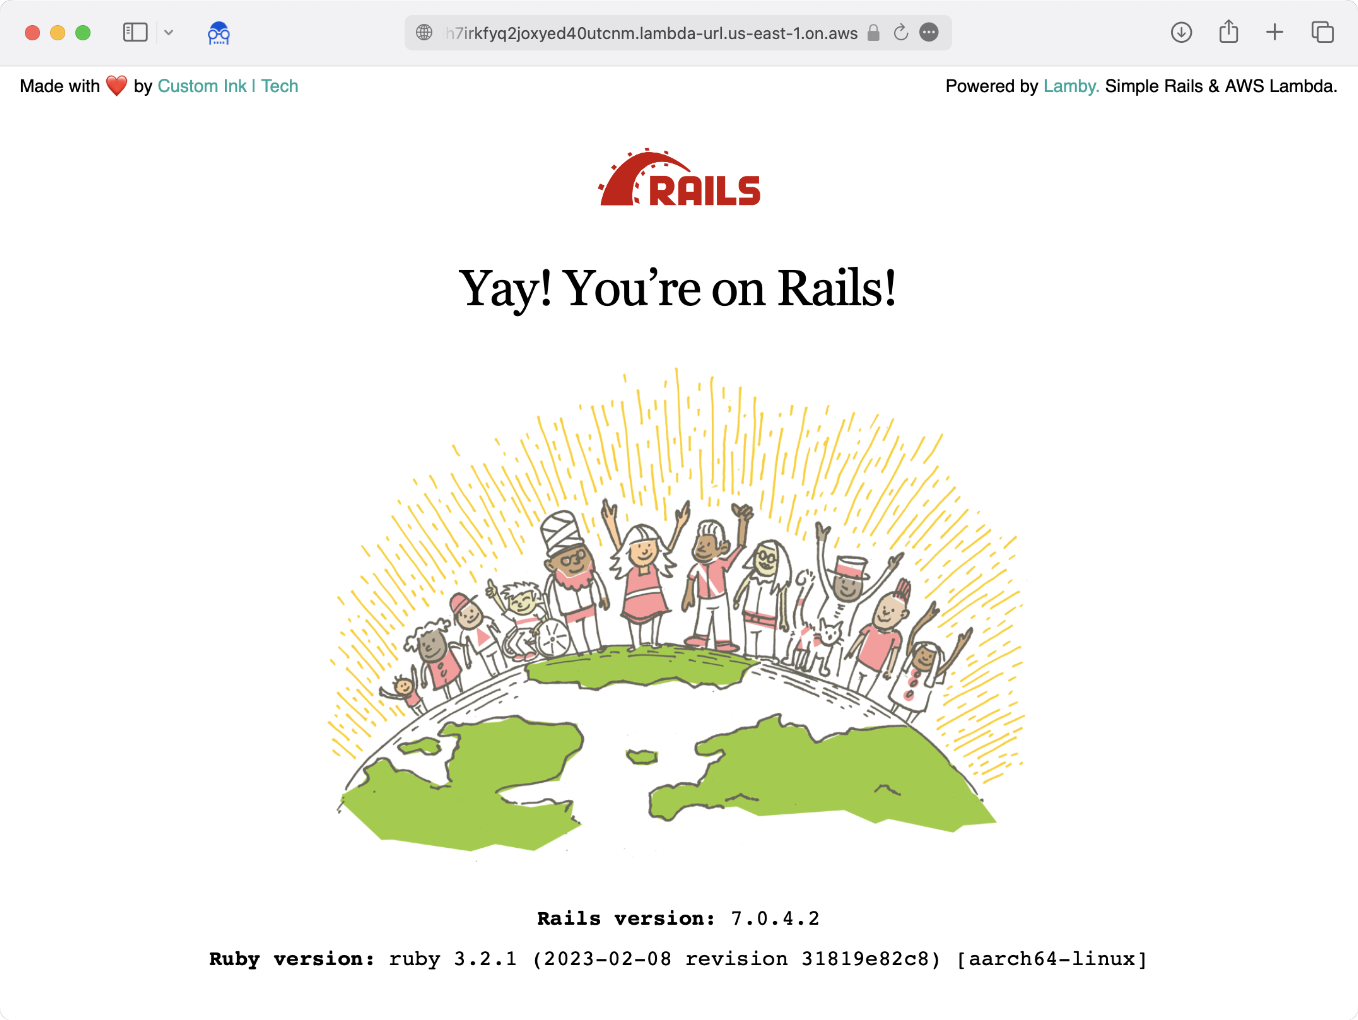
Yay! Your're on Rails!
At the end of the deploy process above, you will see SAM print the outputs for the CloudFormation template being deployed. This includes your Lambda Function URL, a free web server proxy to your Lambda container running Rails.
CloudFormation outputs from deployed stack
-------------------------------------------------------------------------------------------
Outputs
-------------------------------------------------------------------------------------------
Key                 RailsLambdaUrl
Description         Lambda Function URL
Value               https://b4hsncwngvxg6rv67b64r545ly0jrwnk.lambda-url.us-east-1.on.aws/
-------------------------------------------------------------------------------------------

Successfully created/updated stack - new-service-production in us-east-1
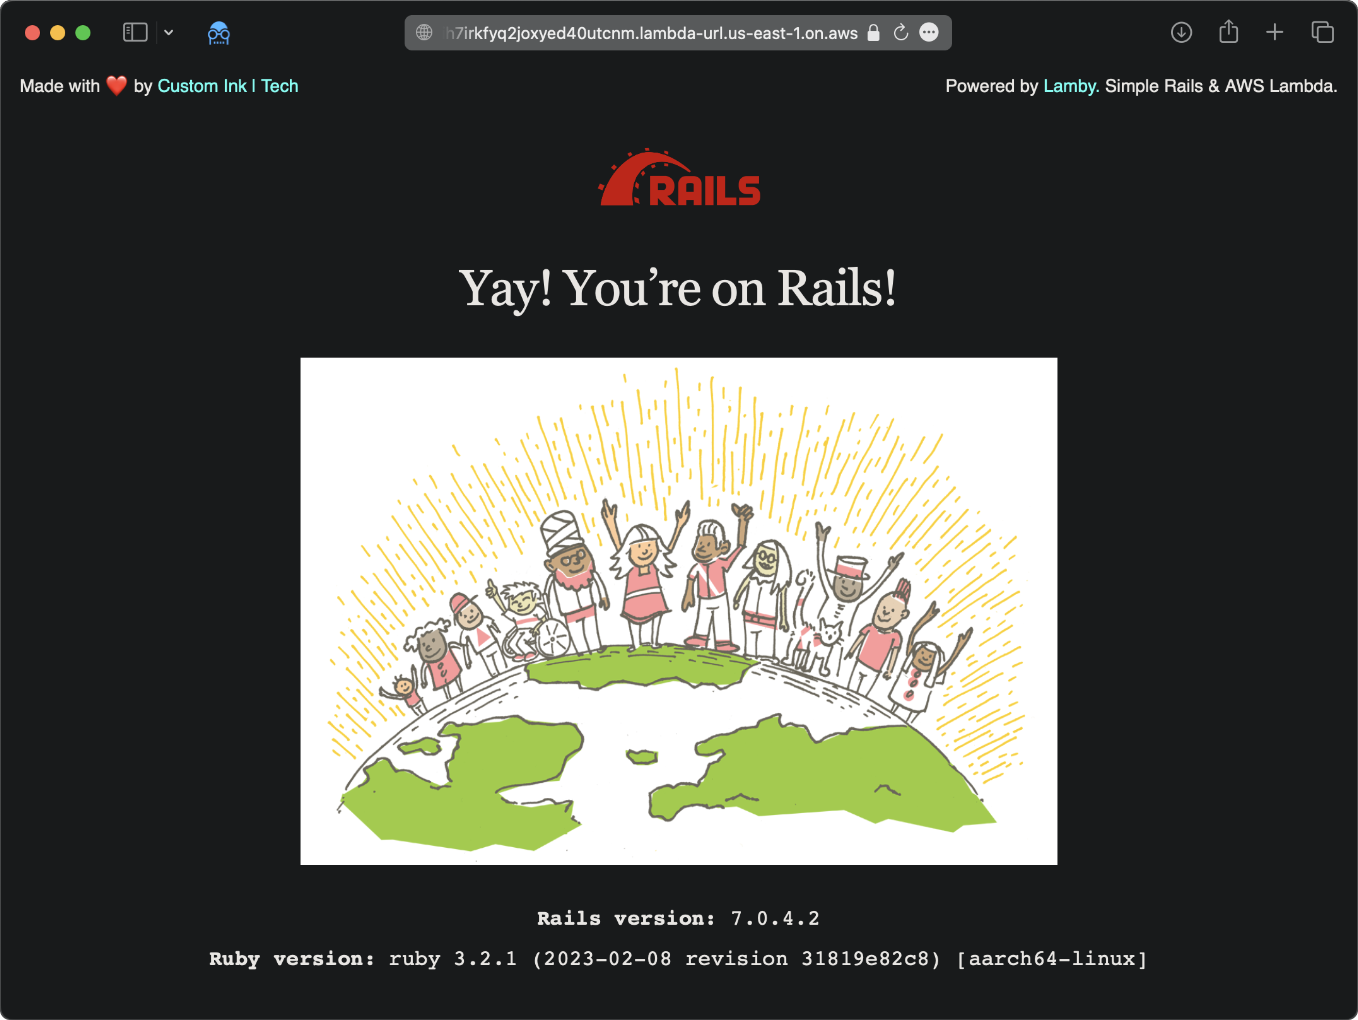
Open your browser and go to the URL. You should see the familiar welcome to Rails screen.
What Just Happened?
You just deployed a new Rails application to AWS Lambda containers using a basic Ruby Ubuntu Docker base image. Every part of your application is wrapped up neatly in a single CloudFormation stack. This stack has everything you need for a server-side API and/or a client JavaScript application hosted on AWS Lambda. Please take some time to explore how Lamby works in the next sections.